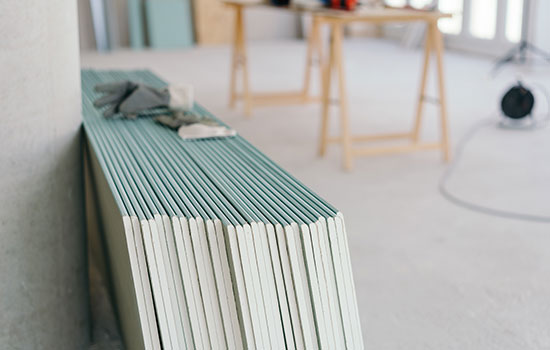
How to Repair Drywall
Over time, the normal activity in your home may leave a few bumps and bruises on the drywall. You can repair most minor damages with a few simple steps.
Repairing Nail Pops
Here’s a few steps to take when you can see the nail heads showing on the drywall of your home.
1. Reset the nail with a hammer and punch.
2. Cover the nail with two or three thin coats of spackle, available at most paint, hardware and home improvement stores.
3. When the spackle dries, sand the surface with fine grain sandpaper.
4. Paint the area.
Indentations caused by sharp objects can be filled with spackle and repaired in the same manner.
Repairing Cracks in Drywall
As your home settles and dries, you will likely notice minor cracks in the drywall. David Weekley Homes will repair shrinkage cracks in the drywall one time during the first year after you close on your home.
Hairline cracks can be repaired with a coat of paint. Slightly larger cracks can be repaired with spackle or caulk. (Remember, you will not be able to paint over silicone caulk.)
Superficial Scratches
1. Level the surface by scraping over it with a putty knife.
2. Using the putty knife, apply a small amount of joint compound to the damaged area. Smooth the surface.
3. Allow the compound to dry completely. You can lightly sand the area to create a smooth surface if necessary.
4. Paint over the repair, using a primer first if necessary.
More significant damages to the drywall in your home may require you to use a drywall repair kit (available at most hardware or home improvement stores) or a new piece of drywall. Follow the directions on the drywall repair kit to complete the repair.